Get Setup
Introduction
In order to get the most of this book, you will want to be able to execute the examples in the notebooks, modify them, break the code, and fix it. Pedagogically, that is the best way for you to learn the concepts. Here are the recommended ways in which you can get set up.
Binder
We recommend the use of Binder! This is because Binder will automagically setup an isolated and ephemeral compute environment for you with all of the packages needed to run the code in your notebooks. As such, you won't have to wrestle with anything at the terminal. To go there, click on the following button:
VSCode Development Containers
Assuming that y ou're using Visual Studio Code and have attempted to use development containers before, you can run the Network Analysis Made Simple tutorial content inside a development container. After Binder, this is the second easiest way to get set up. You need to have Docker installed on your computer but don't worry -- you won't have to execute any Docker commands :).
Install the Remote Containers extension
This is found in the Extensions marketplace.

Clone the repository to your local drive
git clone https://github.com/ericmjl/Network-Analysis-Made-Simple.git
Open the repository in VSCode
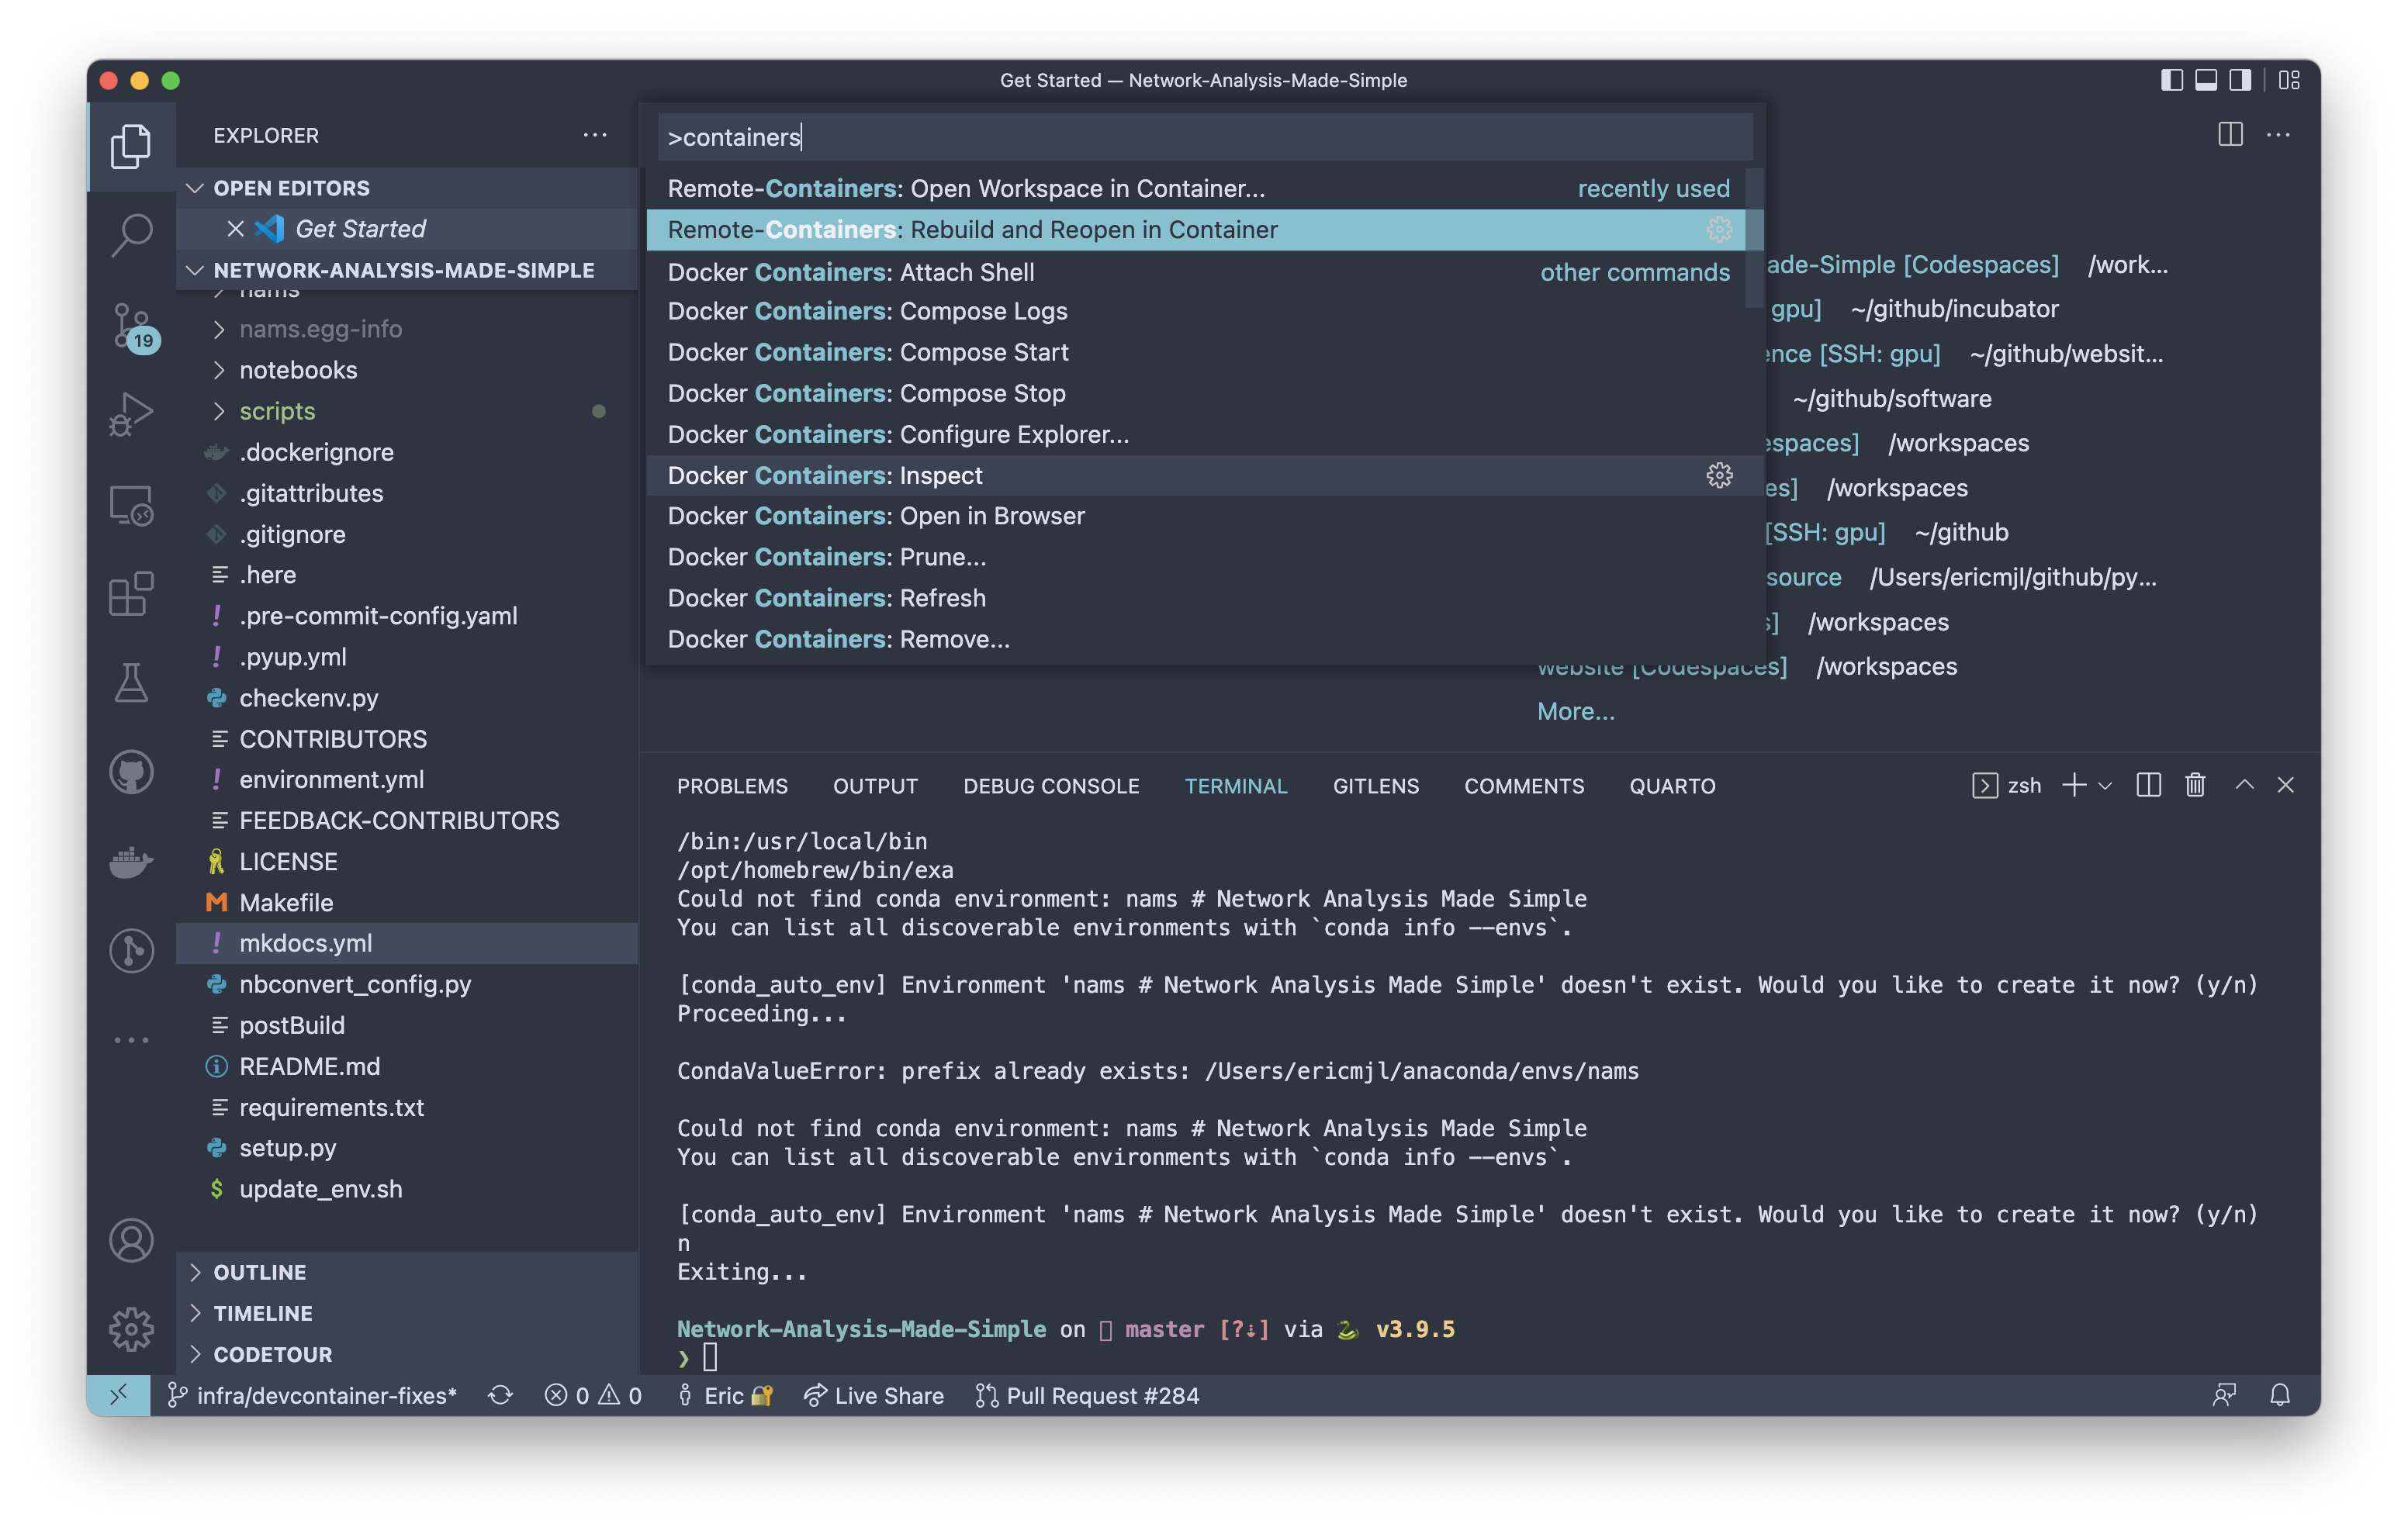
Use Cmd+Shift+P (on macOS) or Ctrl+Shift+P (on Linux/Windows)
to open the command palette, and search for "Rebuild and Reopen in Container" as below:

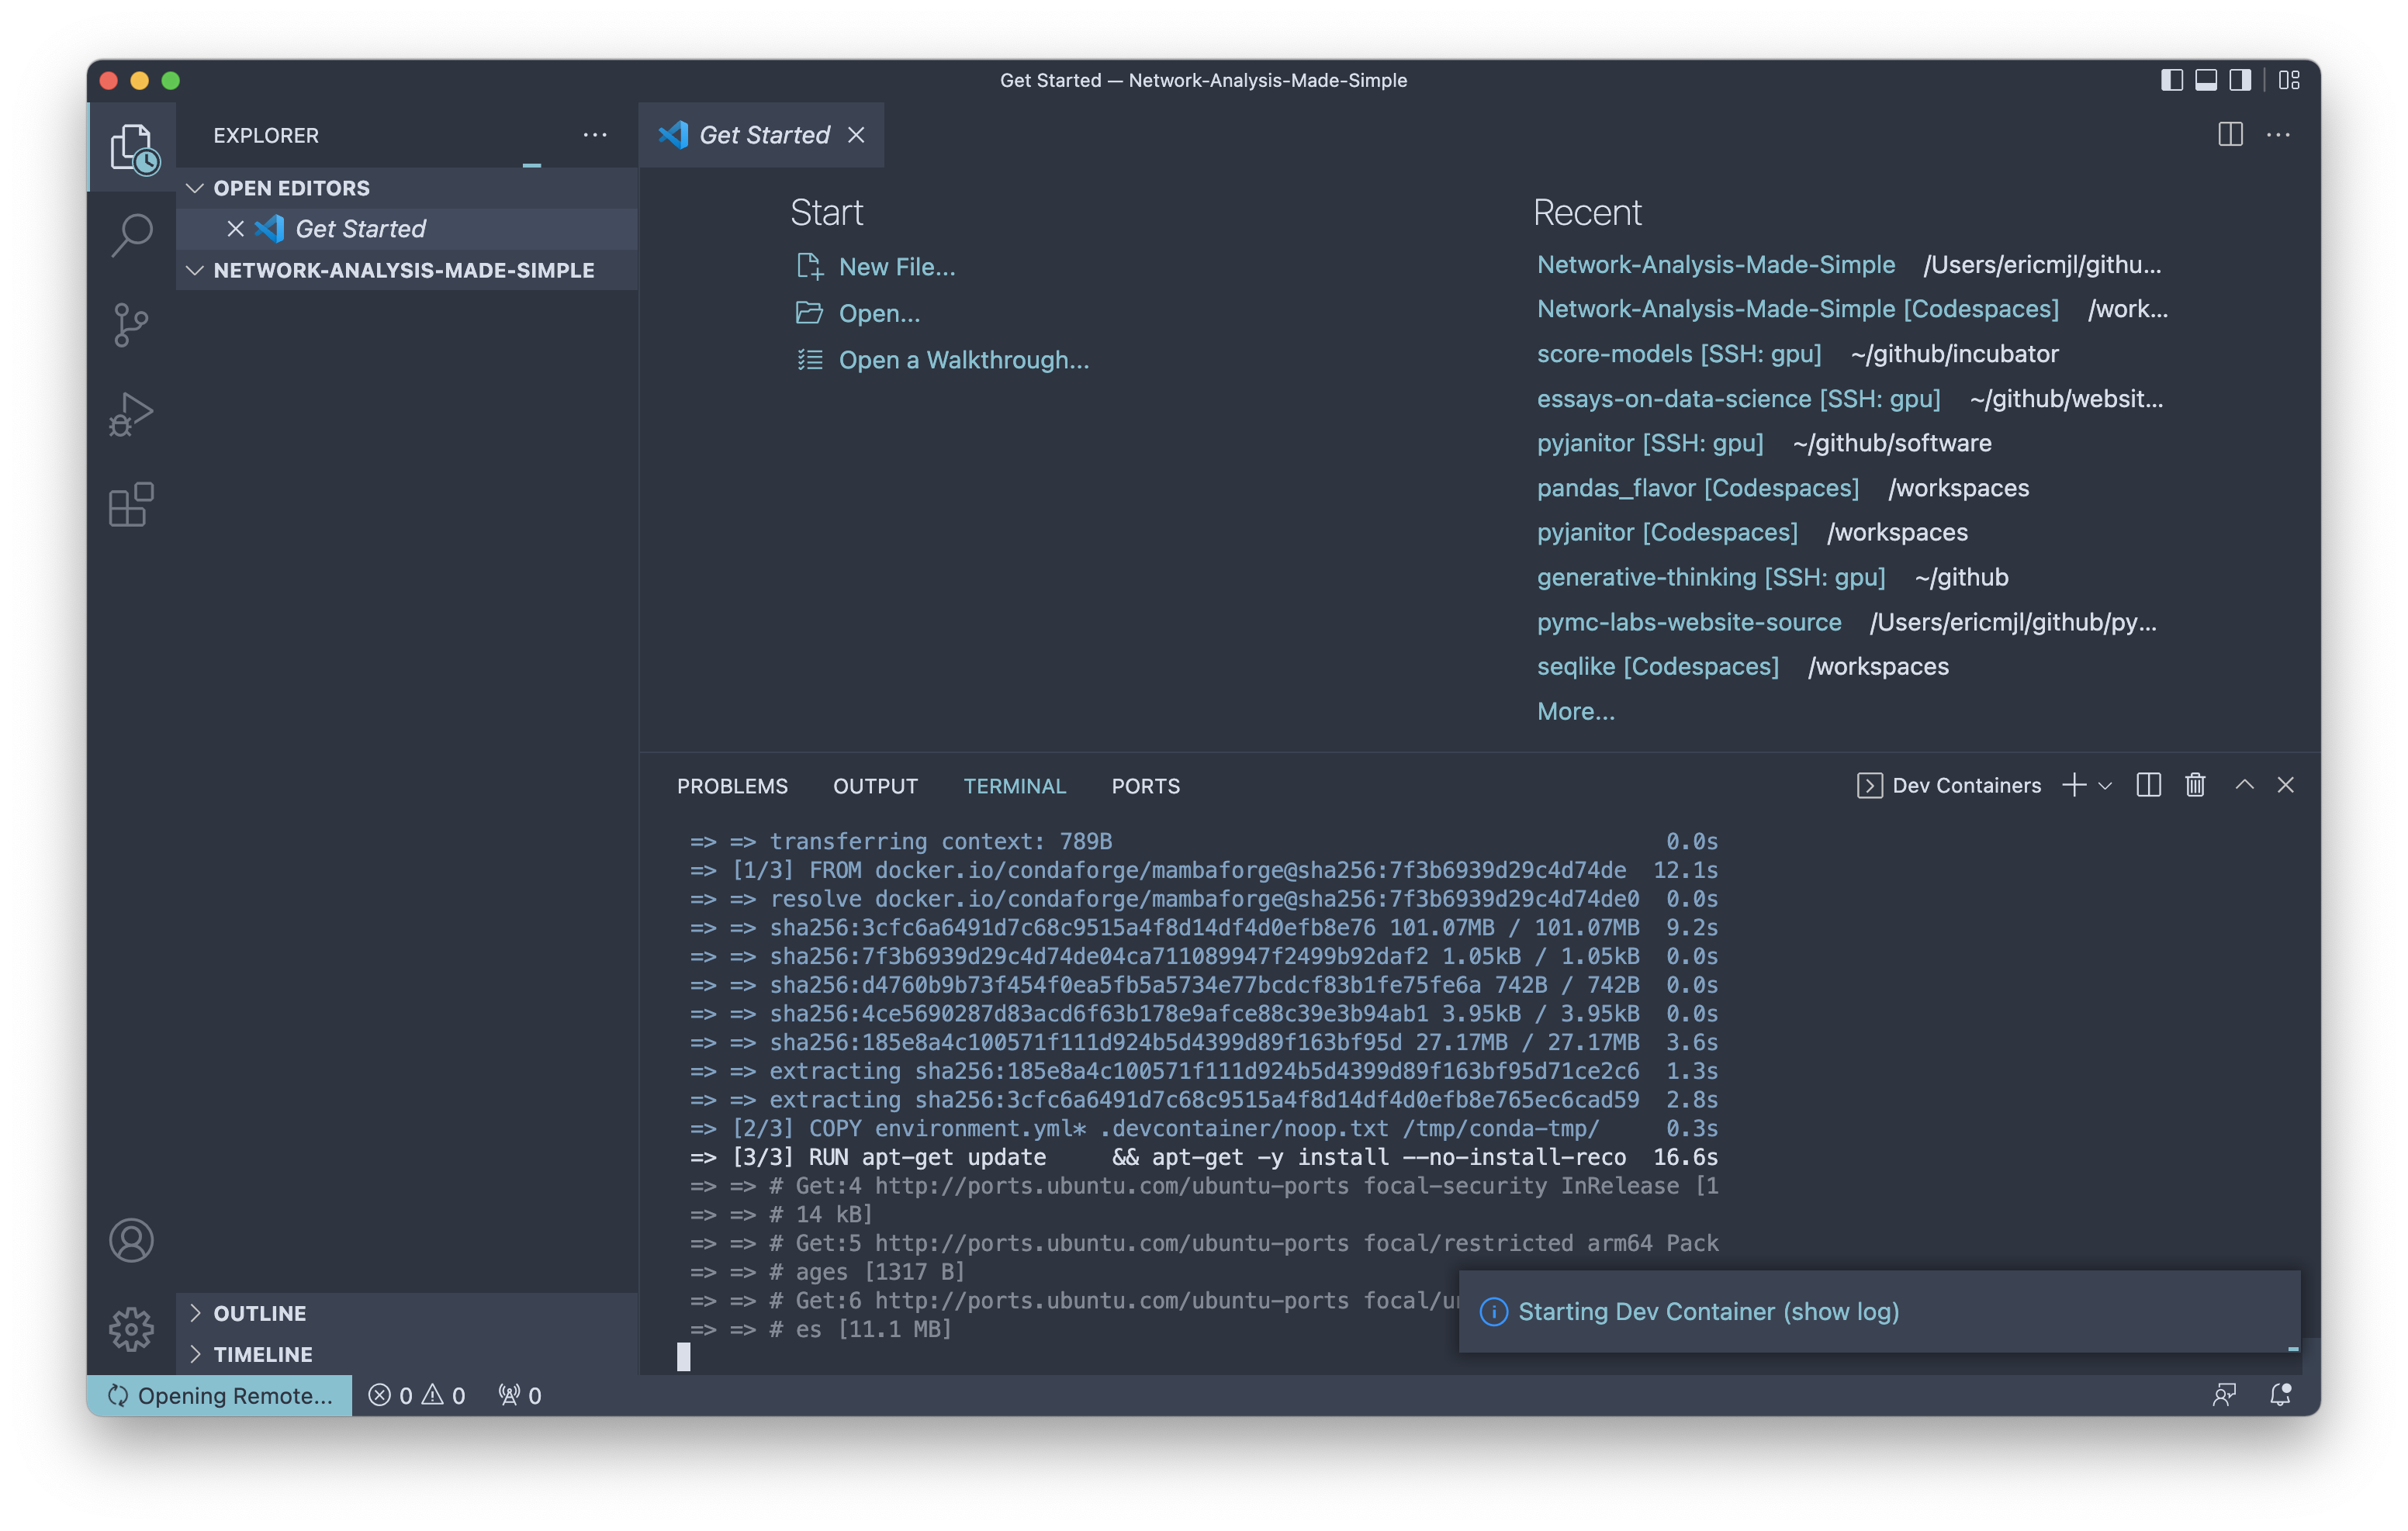
Hit enter and wait for the container to build automagically. This may take around 10 minutes or so, depending on your system.

conda environments
We also recommend the use of conda environments!
Use this if you're not already using one of the options above.
If you are feeling confident enough to set up
a conda environment at the terminal,
then follow along.
(We'll be assuming you've already cloned the repository locally.)
Leverage the Makefile
We've provided a Makefile with a single command:
make conda
On most *nix systems, that should get you most of the way to having the environment setup.
Alternative: Execute individual commands
If you encounter errors, then you should know that the Makefile command
make conda
basically wraps the following steps.
Firstly, it creates the conda environment based on the environment.yml file:
conda env create -f environment.yml
Next, it activates the environment:
conda activate nams
We have a custom module for the project, which is called nams,
that you will have to install.
# In the root directory of the cloned repository
python setup.py develop
Finally, it runs a check on the environment to make sure everything is installed correctly:
python checkenv.py
venv environments
If you're not a conda user, then you can use venv to create your environment.
Leverage the Makefile
As with the conda commands, you should be able
to execute a single Makefile command at your terminal:
make venv
Special heartfelt thanks goes out to GitHub user @matt-land
who contributed the venv script.